状态模式
状态模式是设计模式中的一种行为设计模式,对很多人来说,这个模式平时可能用不到。但是如果你做游戏开发的话,我相信你应该对这个模式有一个很深刻的理解。状态模式在游戏中开发中还是比较常见的。状态模式将状态的行为封装在独立的状态类中,使得状态转换变得更加清晰和易于管理。这样的话,对象只负责状态的切换,不负责具体的行为。
比如射击类游戏:玩家模式是原地站立状态,当用户按下前进的时候,玩家的状态切换为前进状态,当按下后退的时候,状态切换为后退状态。当按下鼠标左键时,玩家进入射击状态。对于同一个玩家对象来说,不同的状态下,都是由不同的行为逻辑。这些逻辑,如果全部都在玩家这个对象类中实现的话,将会非常复杂。状态模式,就是用来解决这个问题的。
状态模式的主要组成部分包括:
(1)、上下文(Context):维护一个具体状态的实例,这个实例定义了当前的状态。
(2)、状态接口(State):定义了所有具体状态类的公共接口。
(3)、 具体状态类(Concrete States):实现状态接口,并根据上下文的状态改变其行为。
下面用C#简单的写一个状态模式的代码,来实现上面的玩家类。
1、定义状态接口IPlayerState表示玩家状态,Handle用于处理不同状态下玩家的具体行为
public interface IPlayerState
{
    void Handle(PlayerContext context);
}2、定义具体状态类:默认站立状态类:DefaultState 、前进状态:MoveForwardState 、后退状态:MoveBackwardState 、射击状态:DesignState 、死亡状态:DeadState
public class DefaultState : IPlayerState
{
    public void Handle(PlayerContext context)
    {
        Console.WriteLine("玩家处于默认站立状态.");
        // 状态转换逻辑
    }
}

public class MoveForwardState : IPlayerState
{
    public void Handle(PlayerContext context)
    {
        Console.WriteLine("玩家正在前进....");
        // 状态转换逻辑 这里可以实时渲染玩家位置
    }
}

public class MoveBackwardState : IPlayerState
{
    public void Handle(PlayerContext context)
    {
        Console.WriteLine("玩家正在后退...");
        // 状态转换逻辑 这里可以实时渲染玩家位置
    }
}

public class DesignState : IPlayerState
{
    public void Handle(PlayerContext context)
    {
        Console.WriteLine("玩家正在射击...");
        // 状态转换逻辑 这里可以判断玩家是否击中对方,更新对方血条和自己血条
    }
}

public class DeadState : IPlayerState
{
    public void Handle(PlayerContext context)
    {
        Console.WriteLine("玩家死亡...");
        // 状态转换逻辑 这里可以对本局游戏进行玩家分数结算
    }
}
从上面可以看到,不同的状态,玩家的逻辑被清晰的描述出来。这样的话,我们就不用在玩家类Player中,通过if-else来来回回切换状态,实现业务逻辑,结构也会非常清晰。
3、定义上下文类:上下文类中存储了玩家的当前状态,并且可以通过上下文切换玩家状态。这是状态类中最基本的元素,当然还可以包含其他的状态数据,比如玩家的实时坐标,玩家的血条信息等等。
public class PlayerContext
{
    private IPlayerState _state;

    public PlayerContext()
    {
        _state = new DefaultState(); // 初始状态为默认状态
    }

    public void SetState(IPlayerState state)
    {
        _state = state;
    }

    public void Request()
    {
        _state.Handle(this);
    }
}
4、在对象中,切换状态,调用对应的状态类逻辑。当然我们只是在这里手动切换状态 ,实际开发中,我们一般是监听鼠标键盘事件或者鼠标事件之后切换玩家状态。
class Program
{
    static void Main(string[] args)
    {
        PlayerContext context = new PlayerContext();

        // 初始状态为默认状态
        context.Request();

        // 切换到前进状态
        context.SetState(new MoveForwardState());
        context.Request();

        // 切换到后退状态
        context.SetState(new MoveBackwardState());
        context.Request();

        // 切换到设计状态
        context.SetState(new DesignState());
        context.Request();

        // 切换到死亡状态
        context.SetState(new DeadState());
        context.Request();
    }
}
基本原理
介绍完状态模式的基本原理之后,接下来介绍截图功能的基本原理:通过捕获屏幕上的特定区域并将其保存为图像文件,在WPF中,我们可以使用System.Drawing命名空间中的类来实现这一功能。具体步骤如下:
1. 捕获屏幕区域:使用Graphics.CopyFromScreen方法从屏幕上复制指定区域的像素。
2. 保存图像:将捕获的像素数据保存为位图(Bitmap)格式。
3. 显示或处理图像:将位图转换为WPF可以处理的BitmapSource格式,以便在界面上显示或进一步处理。
我们先来看下如何保存图像:
public static System.Drawing.Bitmap Snapshot(int x, int y, int width, int height)
{
    System.Drawing.Bitmap bitmap = new System.Drawing.Bitmap(width, height, System.Drawing.Imaging.PixelFormat.Format32bppArgb);
    using (System.Drawing.Graphics graphics = System.Drawing.Graphics.FromImage(bitmap))
    {
        graphics.CopyFromScreen(x, y, 0, 0, new System.Drawing.Size(width, height), System.Drawing.CopyPixelOperation.SourceCopy);
    }
    return bitmap;
}
在截图过程中,我们使用了状态模式来管理截图过程中的不同状态。
当我们按下快捷键的时候, 处于默认状态,具体行为是:将一个WPF窗体背景设置为透明,宽高设置为和屏幕大小一致。
当我们按下鼠标左键的时候,处理开始截图状态(鼠标左键单击事件),具体行为是:记录截图的开始坐标,也就是截图矩形的左上角坐标。
当按下鼠标开始移动端时候,处于截图中状态(鼠标移动事件),具体行为是:不断记录截图的实时坐标,作为截图区域的右下角坐标,同时用户选中的区域,背景色要设置成亮色,可以清晰可见。
当放开鼠标的时候,处于截图结束状态(鼠标左键抬起事件),具体行为是:记录截图的终止坐标,也就是截图举行的右下角坐标。
当下鼠标移动的时候,处于移动中状态,已经选好的截图区域是可以移动的,具体行为是:记录鼠标移动 偏差,动态设置选中区域的背景色。
当然还有其他的状态类,就不一一描述了。
首先定义我们的状态类接口IScreentState :表示截图状态类
public interface IScreentState
{
    void ProcessState(StateContext context);
}其次定义具体的状态实现类:StartState、SelectState、SelectingState、SelectedState、MoveState、MovingState、MovedState、EndState总共有8个状态了,这里我只实现了截图和移动功能,并没有实现拖拽功能,如果需要拖拽修改截图区域大小功能,大家可以自行实现。
public class StartState : IScreentState
{
    public void ProcessState(StateContext context)
    {
        SnapShotWindow win = context._window;
        win.clipRect.Background = new SolidColorBrush((Color)ColorConverter.ConvertFromString("#8000"));
        win.Cursor = Cursors.Arrow;
        win.leftPanel.Width = 0;
        win.topPanel.Height = 0;
        win.rightPanel.Width = 0;
        win.bottomPanel.Height = 0;
    }
}

public class SelectState : IScreentState
{
    public void ProcessState(StateContext context)
    {
        context._startPoint = context._args.GetPosition(context._window);
    }
}

public class SelectingState : IScreentState
{
    public void ProcessState(StateContext context)
    {
        SnapShotWindow win = context._window;
        win.clipRect.Background = Brushes.Transparent;
        context._endPoint = context._args.GetPosition(win);
        win.leftPanel.Width = context._startPoint.X;
        win.topPanel.Height = context._startPoint.Y;
        win.rightPanel.Width = win.ActualWidth - context._endPoint.X;
        win.bottomPanel.Height = win.ActualHeight - context._endPoint.Y;
        win.snapShotInfo.Text = context.GetText();
    }
}

public class SelectedState : IScreentState
{
    public void ProcessState(StateContext context)
    {
        context._endPoint = context._args.GetPosition(context._window);
    }
}

public class MoveState : IScreentState
{
    public void ProcessState(StateContext context)
    {
        SnapShotWindow win = context._window;
        context._mouseDownPosition = context._args.GetPosition(win);
        context._mouseDownMargin = new Thickness(win.leftPanel.ActualWidth, win.topPanel.ActualHeight, win.rightPanel.ActualWidth, win.bottomPanel.Height); ;

        var relativePosition = context._args.GetPosition(win);
        if (relativePosition.X >= 0 && relativePosition.X <= win.clipRect.ActualWidth &&
            relativePosition.Y >= 0 && relativePosition.Y <= win.clipRect.ActualHeight)
        {
            context._allowMove = true;
            win.Cursor = Cursors.SizeAll;
        }
    }
}

public class MovingState : IScreentState
{
    public void ProcessState(StateContext context)
    {
        SnapShotWindow win = context._window;
        win.Cursor = Cursors.SizeAll;
        //todo 隐藏操作按钮
        var pos = context._args.GetPosition(win);  //拖拽后鼠标的位置
        var dp = pos - context._mouseDownPosition; //鼠标移动的偏移量
        Thickness newThickness = new Thickness(context._mouseDownMargin.Left + dp.X,
            context._mouseDownMargin.Top + dp.Y,
            context._mouseDownMargin.Right - dp.X,
            context._mouseDownMargin.Bottom - dp.Y);
        win.leftPanel.Width = newThickness.Left < 0 ? 0 : newThickness.Left;
        win.topPanel.Height = newThickness.Top < 0 ? 0 : newThickness.Top;
        win.rightPanel.Width = newThickness.Right < 0 ? 0 : newThickness.Right;
        win.bottomPanel.Height = newThickness.Bottom < 0 ? 0 : newThickness.Bottom;
        win.snapShotInfo.Text = context.GetText();
    }
}

public class MovedState : IScreentState
{
    public void ProcessState(StateContext context)
    {
        //todo 显示操作按钮
    }
}

public class EndState : IScreentState
{
    public void ProcessState(StateContext context)
    {
    }
}
最后是状态上下文类:
public class StateContext
{
    public IScreentState _currentState;

    public SnapShotWindow _window;
    public MouseEventArgs _args;
    //框选开始坐标
    public Point _startPoint;
    //框选结束坐标
    public Point _endPoint;
    //目前状态
    public ScreenState _state;
    //开始拖拽时,鼠标按下的位置
    public Point _mouseDownPosition;
    //开始拖拽时,鼠标按下控件的Margin
    public Thickness _mouseDownMargin;
    public bool _allowMove = false;

    private readonly IScreentState _startState;
    private readonly IScreentState _selectState;
    private readonly IScreentState _selectingState;
    private readonly IScreentState _selectedState;
    private readonly IScreentState _moveState;
    private readonly IScreentState _movingState;
    private readonly IScreentState _movedState;
    private readonly IScreentState _endState;

    public StateContext(SnapShotWindow window)
    {
        _window = window;
        _startState = new StartState();
        _selectState = new SelectState();
        _selectingState = new SelectingState();
        _selectedState = new SelectedState();
        _moveState = new MoveState();
        _movingState = new MovingState();
        _movedState = new MovedState();
        _endState = new EndState();

        _state = ScreenState.Start;
        _currentState = _startState;
        SetNewState(_state);
    }

    public void SetNewState(ScreenState state)
    {
        _state = state;
        switch (state)
        {
            case ScreenState.Start:
                _currentState = _startState;
                break;
            case ScreenState.Select:
                _currentState = _selectState;
                break;
            case ScreenState.Selecting:
                _currentState = _selectingState;
                break;
            case ScreenState.Selected:
                _currentState = _selectedState;
                break;
            case ScreenState.Move:
                _currentState = _moveState;
                break;
            case ScreenState.Moving:
                _currentState = _movingState;
                break;
            case ScreenState.Moved:
                _currentState = _movedState;
                break;
            case ScreenState.End:
                _currentState = _endState;
                break;
        }
        _currentState.ProcessState(this);
    }

    public void SetNewState(ScreenState state, MouseEventArgs args)
    {
        _args = args;
        var point = args.GetPosition(_window);
        SetNewState(state);
    }

    public string GetText(double offsetX = 0, double offsetY = 0)
    {
        Point leftTop = _window.clipRect.PointToScreen(new Point(0, 0));
        Point rightBottom = _window.clipRect.PointToScreen(new Point(_window.clipRect.ActualWidth, _window.clipRect.ActualHeight));

        double width = Math.Round(Math.Abs(rightBottom.X - leftTop.X) + offsetX);
        double height = Math.Round(Math.Abs(rightBottom.Y - leftTop.Y) + offsetY);

        return $"{leftTop}    {width}×{height}";
    }

    public bool IsInClipRect(Point point)
    {
        var relativePosition = point;
        if (relativePosition.X >= 0 && relativePosition.X <= _window.clipRect.ActualWidth &&
            relativePosition.Y >= 0 && relativePosition.Y <= _window.clipRect.ActualHeight)
        {
            return true;
        }
        return false;
    }
}两外XAML主界面的布局,就不给大家贴出来,源代码已经上传到github:https://github.com/caoruipeng123/ScreenApp
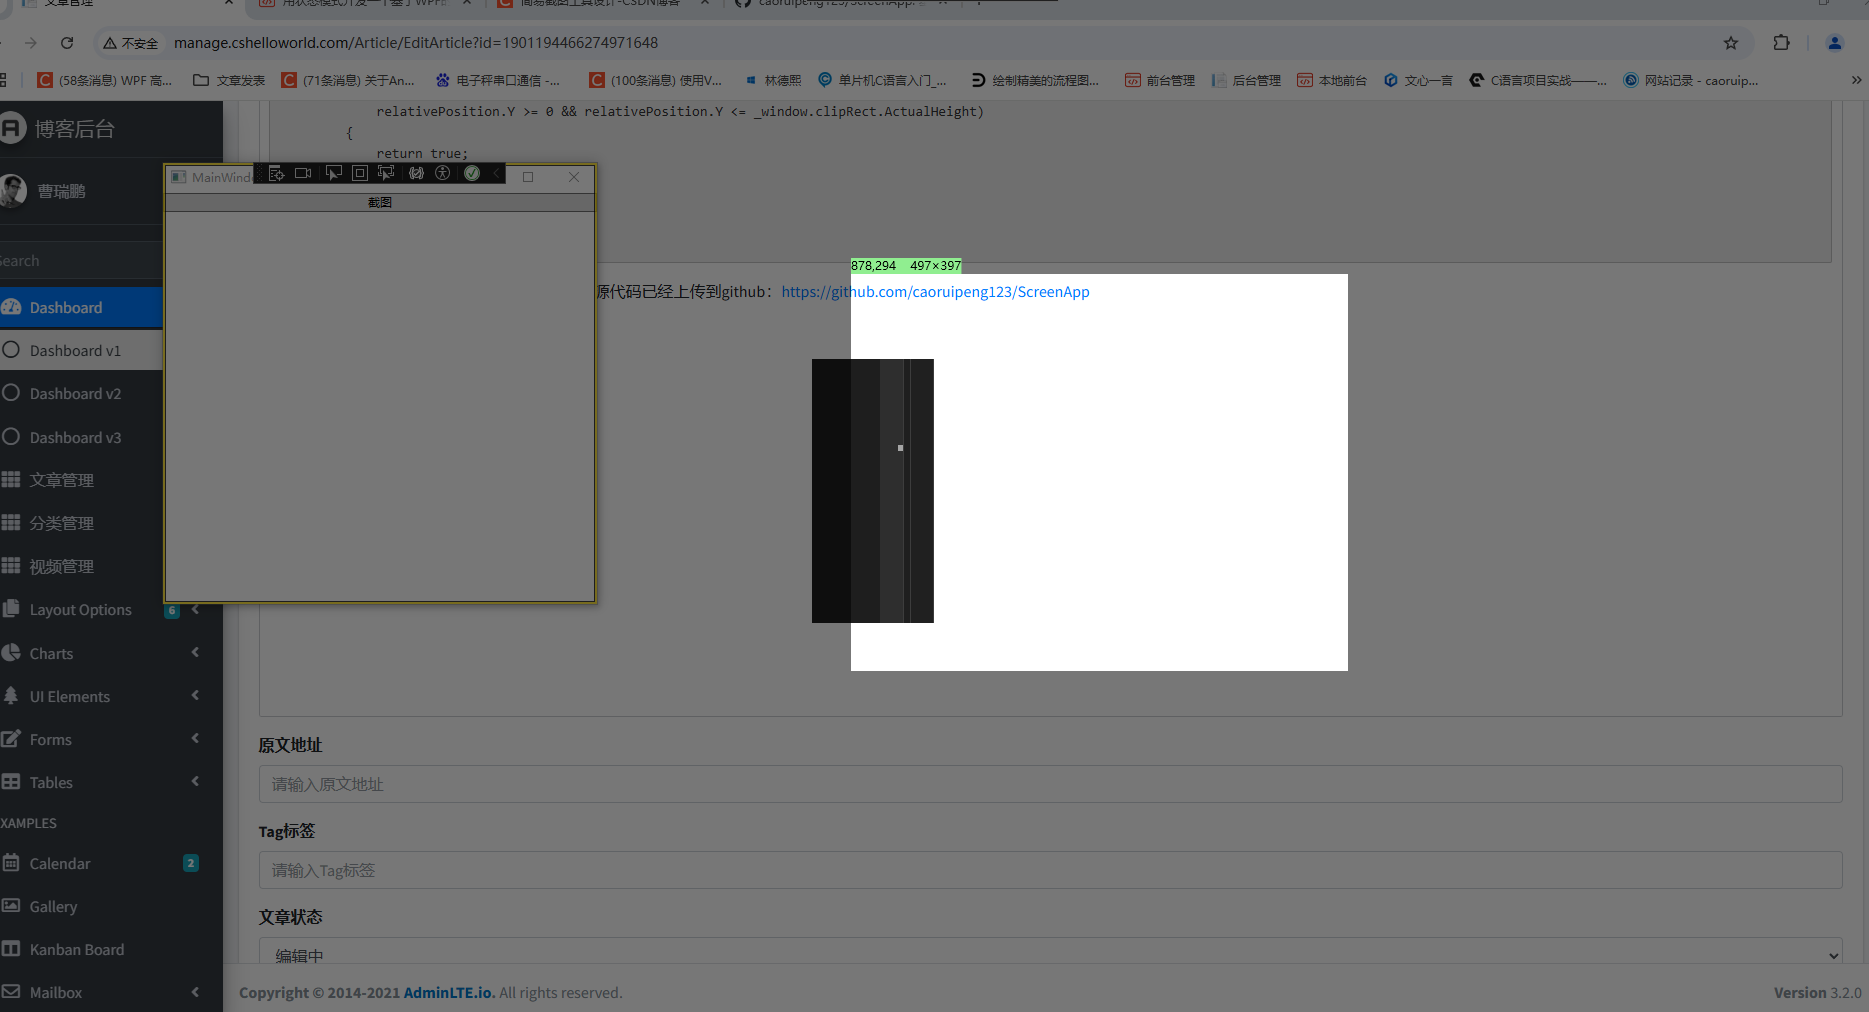
接下来看下实际的运行效果:进入截图页面之后,单击鼠标坐标开始框选截图区域,双击鼠标左键,可以结束截图,并且图片会设置到操作系统的粘贴板上,你可以把图片粘贴到任何位置。


